DIY | Tree decor to die for

Greetings dolls!

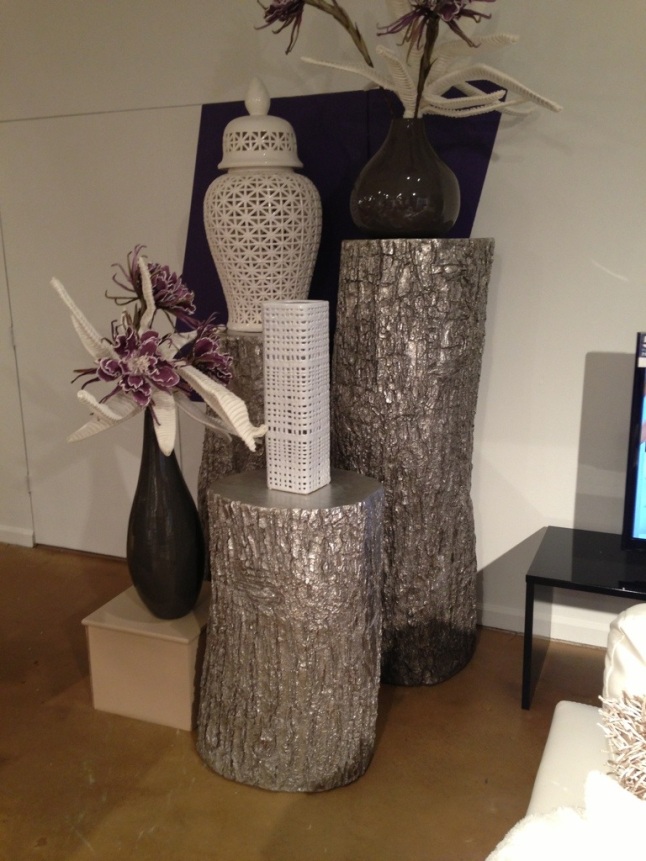
I had the pleasure of turning something old into sometime super fun and brand new. Tree trunks spray painted to use in the home as props. The project pretty self-explanatory and easy to follow through pics below.

20131121-110848.jpg

20131121-110900.jpg

I found the top two images via google– since I didn’t take before and during pics. The sky is the limit with the color paint you can use for this projects. Here is the big reveal:

20131121-110917.jpg

Until next time,

carmen

New & Improved | Pretty Prim & Proper

cviHappy Sunday!

I (Carmen Veal) am happy to be here– for those of you who do not know, my 4 1/2-year-old site crashed early last week. I lost about 75% of content as a result. I’d have to say it was was one of the most discouraging things I’ve faced to date. However…in every test is a testimony. I was able to hit the restart button and re-brand a vision I’ve been wanting to explore for quite some time. What used to be carmenveal.com is now prettyprimandproper.com. Here I will explore all things excessively decorous including my fashion DIY’s (which is where it all began in 2009) and features of others crafty Creative Jills. Proudly, carmenveal.com has a completely new look and feel and serves as my professional brands new home. Pretty Prim & Proper is where I get to play and share fun lifestyle tips, tricks and ideas. Starting with this gorgeous image above (found on hgtv.com), I wanted to start with my love for home decor and color. Enjoy a few tips and money savers to transform your living space.

Tip!

Spray paint a book shelf in choice of color and stack same colored books in different directions throughout. Add simple plants, pictures, knick-knacks and instantly transform your space.

Save!

DIY knick-knacks or buy items from thrift stores and consignment shops. You’ll be surprised by the wide selections of goods you find and money you save.

WI have a special DIY coming up soon. Stay tuned!

Until next time,

carmen

Exposed butt problem? NO problem! | Jean DIY

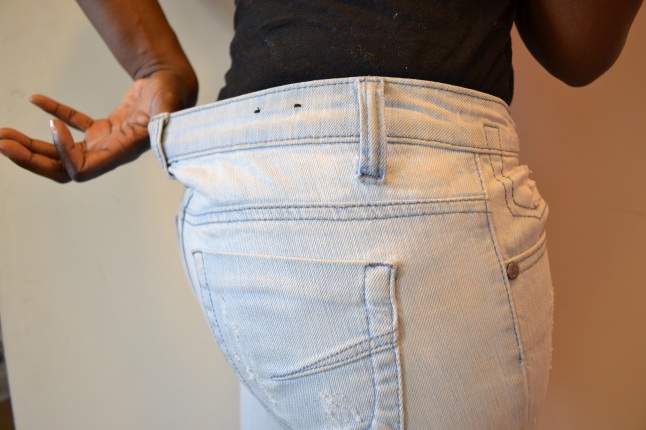
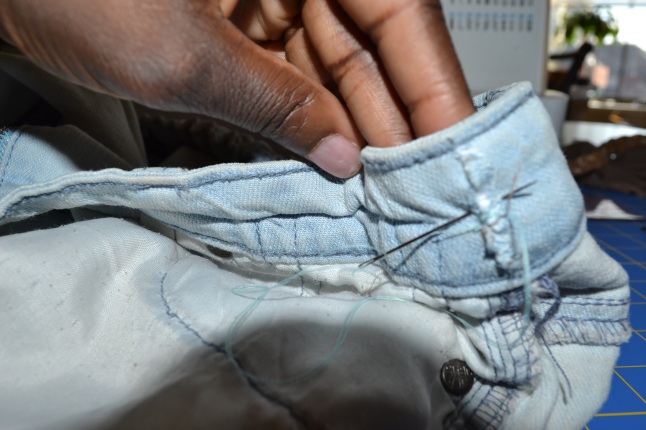
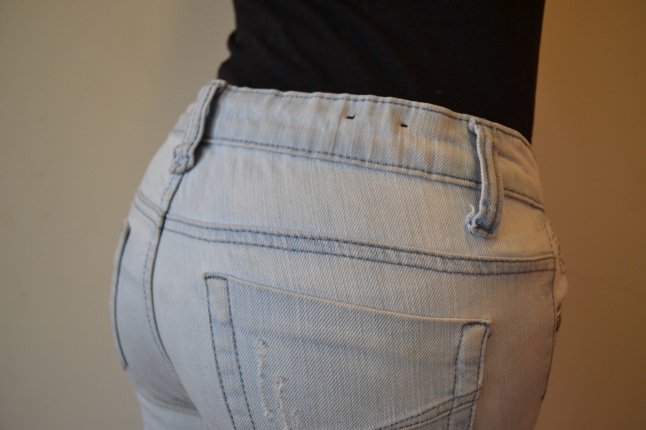
Jeans are made “standard size”…yet, usually never fit my waist. I don’t always want to wear a belt…nor do I want the large waist to expose my underwear and butt. So, here is a quick solution.

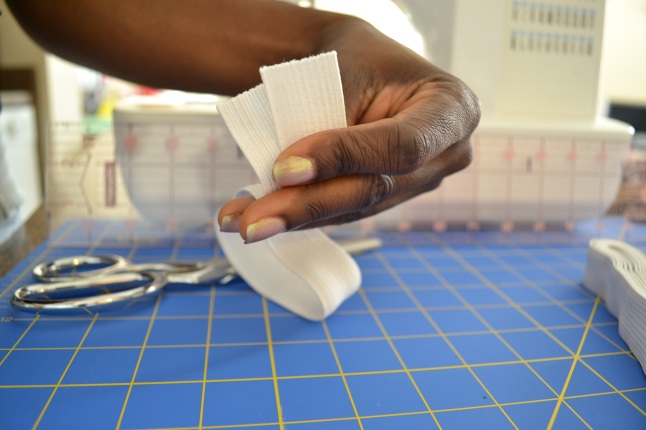
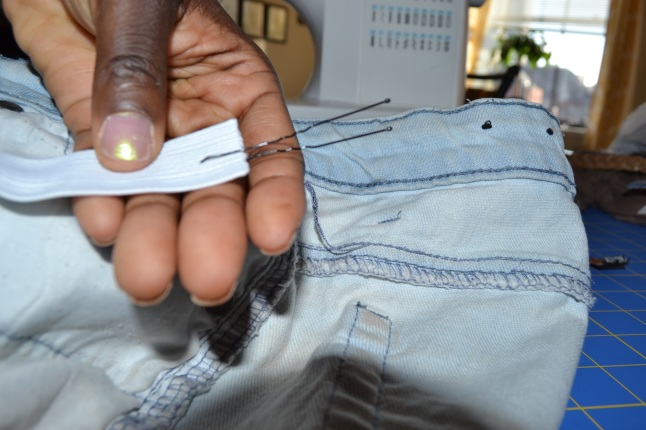
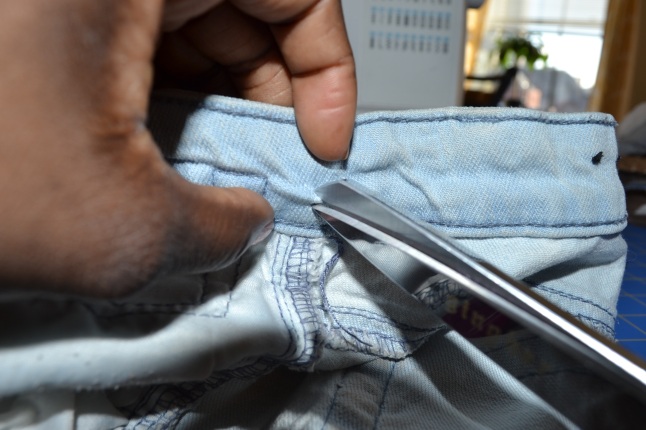
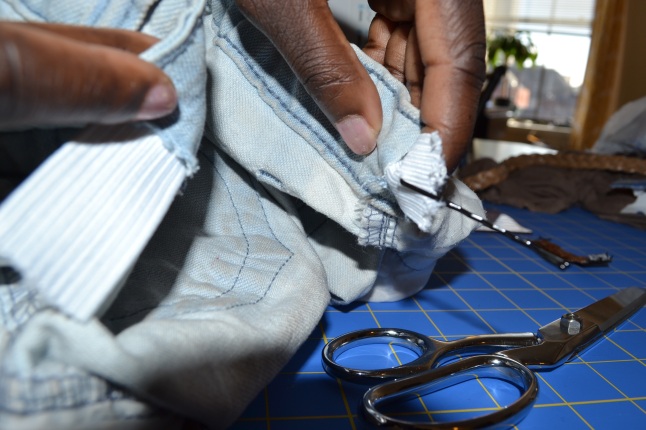
I used elastic cut at 5 inches wide, scissors to create two slits in the jeans the length of the elastic (1.5in) (make sure its centered by using measuring tape to find the center of the back half of your waist), bobby pin (or clothes pin) to feed elastic through slits, and a hand needle/thread to sew through the jeans top layer as well as the elastic.

20130415-084412.jpg

20130415-084447.jpg

20130415-084534.jpg

20130415-084514.jpg

20130415-084739.jpg

20130415-084843.jpg

20130415-084921.jpg

Now I happily bend and stand in confidence. If you need assistance, ask questions and ill be sure to help you master this super easy DIY.

Until next time…😉

XO,
Carmen

Home + living | DIY Home office Pt 1

Greetings all,

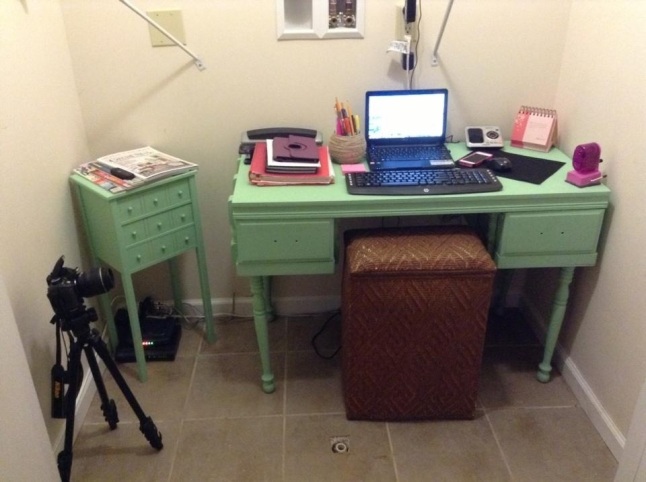
This project has been planned in my head for quite a while now. I decided to turn my laundry room into my home office.

Here is the start of the office with a desk and accent stand I painted my fav shade of green (Jade).
20130329-121040.jpg

The project itself is far from over (shelving units, wall art, custom painted rug etc.) but I’ve started with a few essentials.

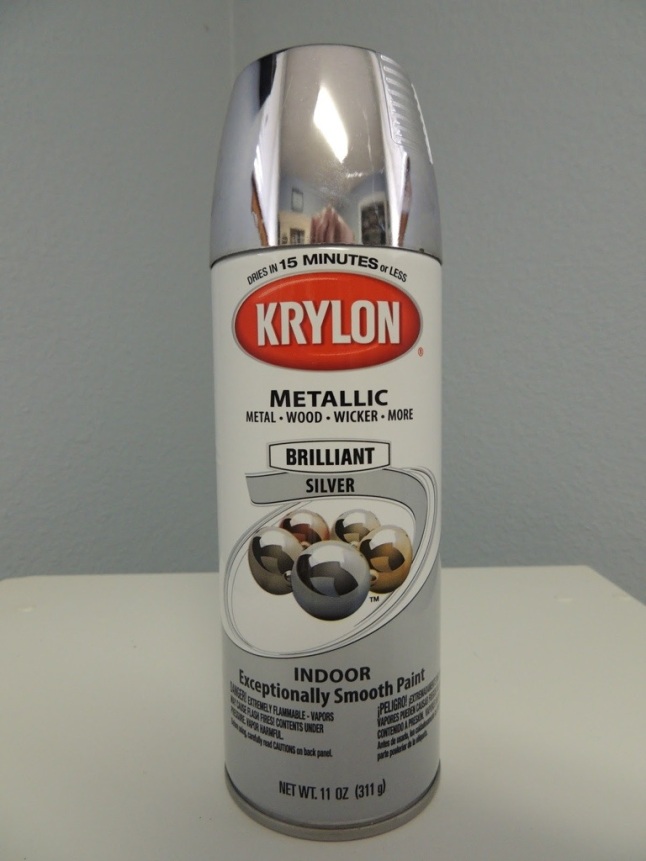
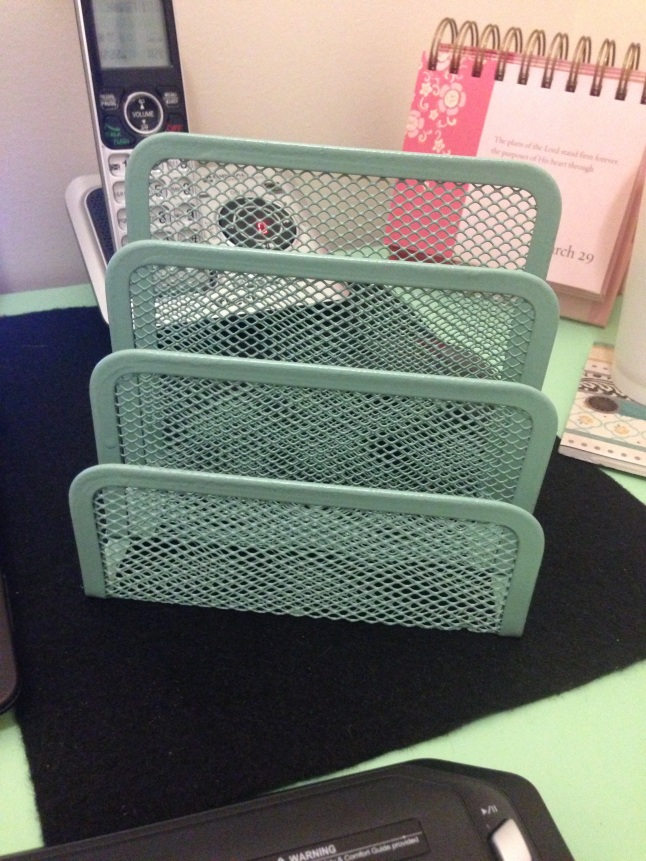
First is this file organizer I spray painted
20130329-122204.jpg

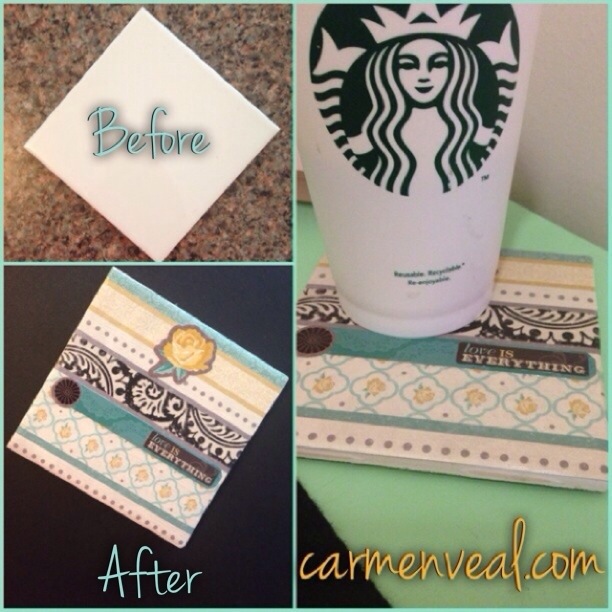
And of course a coaster to protect my desk from liquid spills
20130329-122338.jpg

Here is how I made it:

20130329-123458.jpg
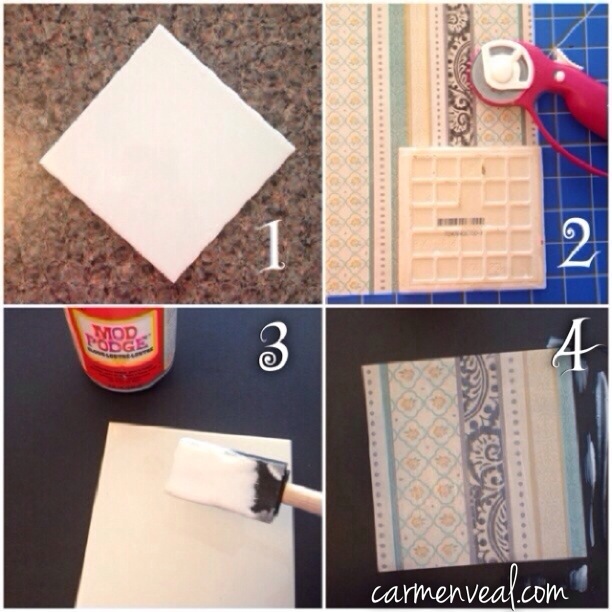
1. Buy the precut square tile from Home Depot
2. Cut the paper the size of your tile. I used a rotary cutter & pad. Lined the tile to the edge of the paper for a perfect square.
3. Use mod pudge glue and foam brush to apply scrapbook paper. I used one coat on top of the tile…
4. Applied cut paper, then applied another coat of mod podge glue to the top.
20130329-123910.jpg
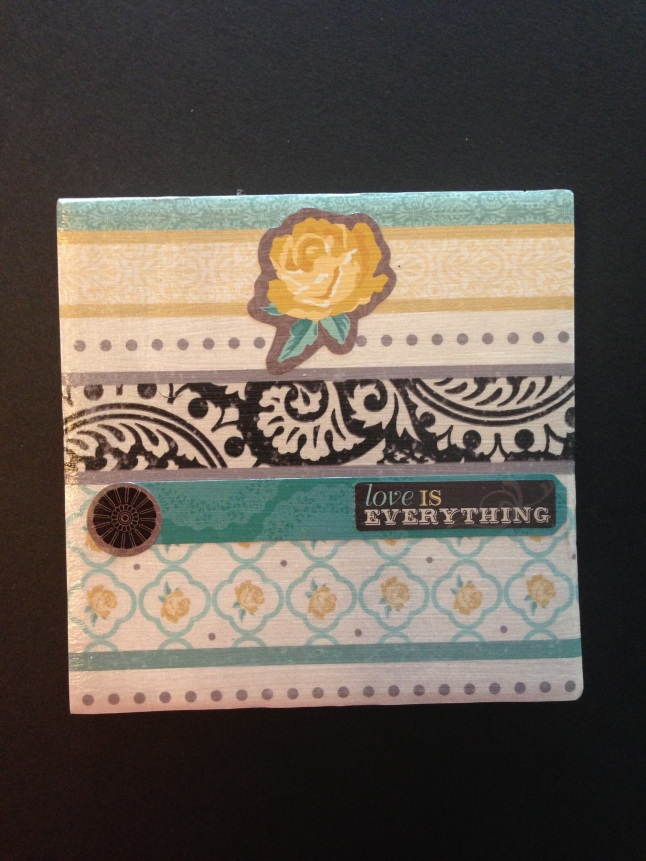
5. (Optional) I decided to add a few decals from the scrapbook set. Then applied one more coat of mod podge and let dry.

I hope you guys enjoyed and use this to make your own. All products were purchased from Walmart (long ago since I’m using things I already have in my home). Stay tuned for part 2.

Until next time…

XO,
Carmen Veal